Monday, April 14, 2014

Week 3-31-4/6 progress

Here is a list of the different things we worked on.  
  • Has gas line relocated
  • Moved range from island to new location
  • Completed 240 v outlet wiring
  • Removed 1/2 wall section
  • Rewired dishwasher and outlets
Moving the stove
What's going on down there...
 New gas line location
Rewiring 1/2 wall
  • We also had the excitement that Logan fell off a chair and cut the back of his head open on the hardwood floor edge.  Sally took him to the ER and he had two staples put on the cut.

Monday, March 31, 2014

Week 3-24-3/30 progress

Here is a list of the different things we worked on.   Nothing really looks much different, but we did get many different things taken care of.
  • Purchased and installed Microwave
  • Capped old refrigerator water line (to prevent possible leak)
  • Added junction box in crawl space for hanging live wire found by Mr. Sparky
  • Added conduit to breaker box for new range electric supply line.
  • Ran new 8-3 wire for stove from breaker box to new location
  • Mounted new surface mounted outlet for range
  • Fixed water leak from cracked drain line
  • Assembled Lazy-Susan cabinet
  • Removed more old tile.
  • Finalized plans for counter layout
  • Sanded and stained base cabinets (except silverware)
This one passes
What a mess...
Tile removal
New range outlet ready to go

Base cabinets stained.

Water leak fixed

TODO This week:
  • Finish staining and polyurethane base cabinets
  • Order Lazy-Susan hardware
  • Install drawer slides in base cabinets
  • Finish box joint jig and build a drawer
  • Get gas line/stove moved
  • Start tearing out half wall in nook.

Range electricity


After talking to Mr. Sparky I decided to pull the new 4 conductor range supply line myself.  The main issue in running a new line is getting into the breaker box.   I asked him about adding a new conduit and he said that was "nearly impossible".   I'm not sure if I took that as a challenge or not, but that is what I decided to try to do. It looked like I could just enlarge a hole already in the crawl space and punch out a breaker box access hole. It really went smoothly but I did need a second person to help guide the conduit into place and get the nut on. Hardly impossible.  Took about an hour.


Cost of the wire, outlet, and conduit was about $70.   Mr. Sparky's quote to run the new line was $835.  So we saved about $765.   To be fair to Mr. Sparky, they do not look for the easiest way to do something.  They just pull numbers from a book for what this or that will cost.  Now lets just hope the oven works =).

Leak

We had an extra little project to take care of this weekend.  When I added the new water line for the refrigerator, I noticed that there was a water leak under the house.   The leak was from a drain line connected to the kitchen sink.   The location was very strange though since if you stand directly under the sink there is no drain line there.   The pipes apparently turn right and run over to the wall about 3-4 ft before turning and going down into the craw space.  This meant that the leak seems to be actually in the wall somewhere.  We had Mr. Rooter quote on fixing the problem.  He thought the cabinets needed to be removed to find the leak.  Lucky we are replacing them...

I could not find exactly where the leak was, but it was obvious it was somewhere in this section.  I used a saws-all to cut it out.  After getting the section out you could see a big long crack down the pipe on the back side of it.    There was a metal hanging bracket that was very rusty and broke.  When that failed, it let the pipe fall about a 1/4 to 1/2 inch which cracked the pipe.  We are not sure how long it has been leaking.   We were very lucky that the water that fell out didn't get any wood wet.  It fell into a little depression in the crawl space.

I built a new pipe assembly that installed it in a couple hours.   

Saturday, March 29, 2014

Quotes

We requested some quotes for moving the electricity and gas supply for the range.

Mr Sparky @ 8-8:30
Roger from Mr. Sparky can out and gave us a quote. It was much higher than we hoped.  They use a price list much like auto repair for what items should cost.  $832 to pull a new 4 conductor wire from the breaker box to the new range location.  Yikes!  I am leaning towards pulling the new wire myself.   We should be able to save about $700-$750.

Mr Rooter @ 12-2
Sally met with the plumbing guy.  He quoted on several things.   Move gas line in kitchen. $344.76 Repair leak on kitchen sink drains from wall into crawlspace. $205.95 Cap

Icemaker line below floor. $81.82
Advantage plan. $99 total $731.53

Friday, March 28, 2014

Microwave


Sally ordered the microwave from BestBuy since HomeDepot would not price match.  We ended up getting a Whirlpool WMH31017B based on my mom's review of her Whirplool microwave .


WMH31017B - 1.7 cu. ft. Microwave Hood Combination with Hidden Vent

 It came in on time and I installed it Thursday night.  Installation went really well and I only had to drill the holes once =).   


Monday, March 24, 2014

Week 3/17-3/23 Progress

We were able to get a good amount of work done this weekend. Here is a list of the different things we worked on:
  • Fixed drywall in ceiling/wall corner where wall cabinets mount 
  • Primed and pained wall behind wall cabinets 
  • Removed old wall cabinets and installed in garage
  • Mounted all the wall cabinets 
  • Moved the outlet that would have ended up over the oven down the wall. 
  • Added an outlet in the microwave cabinet 
  • Wired up under cabinet LED power supply to 120v. 
  • Tested and mounted soft touch PWM Led brightness controller 
  • Built LED strips and mounted lights under 3/4 of cabinets
Old cabinets gone!
New cabinets go up!
Microwave wiring changes
Work foreman taking a break

Most of the wall cabinets mounted and microwave outlet installed

Testing PWM LED controller mounted under cabinet

Some of the under cabinet lighting working

TODO This week:
  • Order microwave and replacement Alder plywood sheet
  • Finish mounting LED lighting
  • Build small base cabinets (does not include sink/lazy susan)
  • Start staining base cabinets
  • Mock up space lost in Nook if we add cabinets to back of current cabinets
  • Install microwave
  • Add outlet to provide power for counter top to the right of the stove.
  • Finish/Test box joint jig.


Tuesday, March 18, 2014

Home Depot (update)


Since I never got a call back from Home Depot, I went up there Tuesday morning to talk to Zane about what happened.   He remembered the order problem and we are going to try to order a single sheet of Alder again.  I also ordered a 3/4 sheet of Alder for the island/bar area.   He told me Frank was going to handle it and I should be getting a call later.
I did get a call from Matt at Columbia Forest Products today to go over exactly what I wanted on the order. I think they will at least ship the right thing this time, but I don't have much faith that I will get it without any damage. We will have to wait and see in a couple weeks.

Monday, March 17, 2014

Weekend 3/15-3/16 Progress

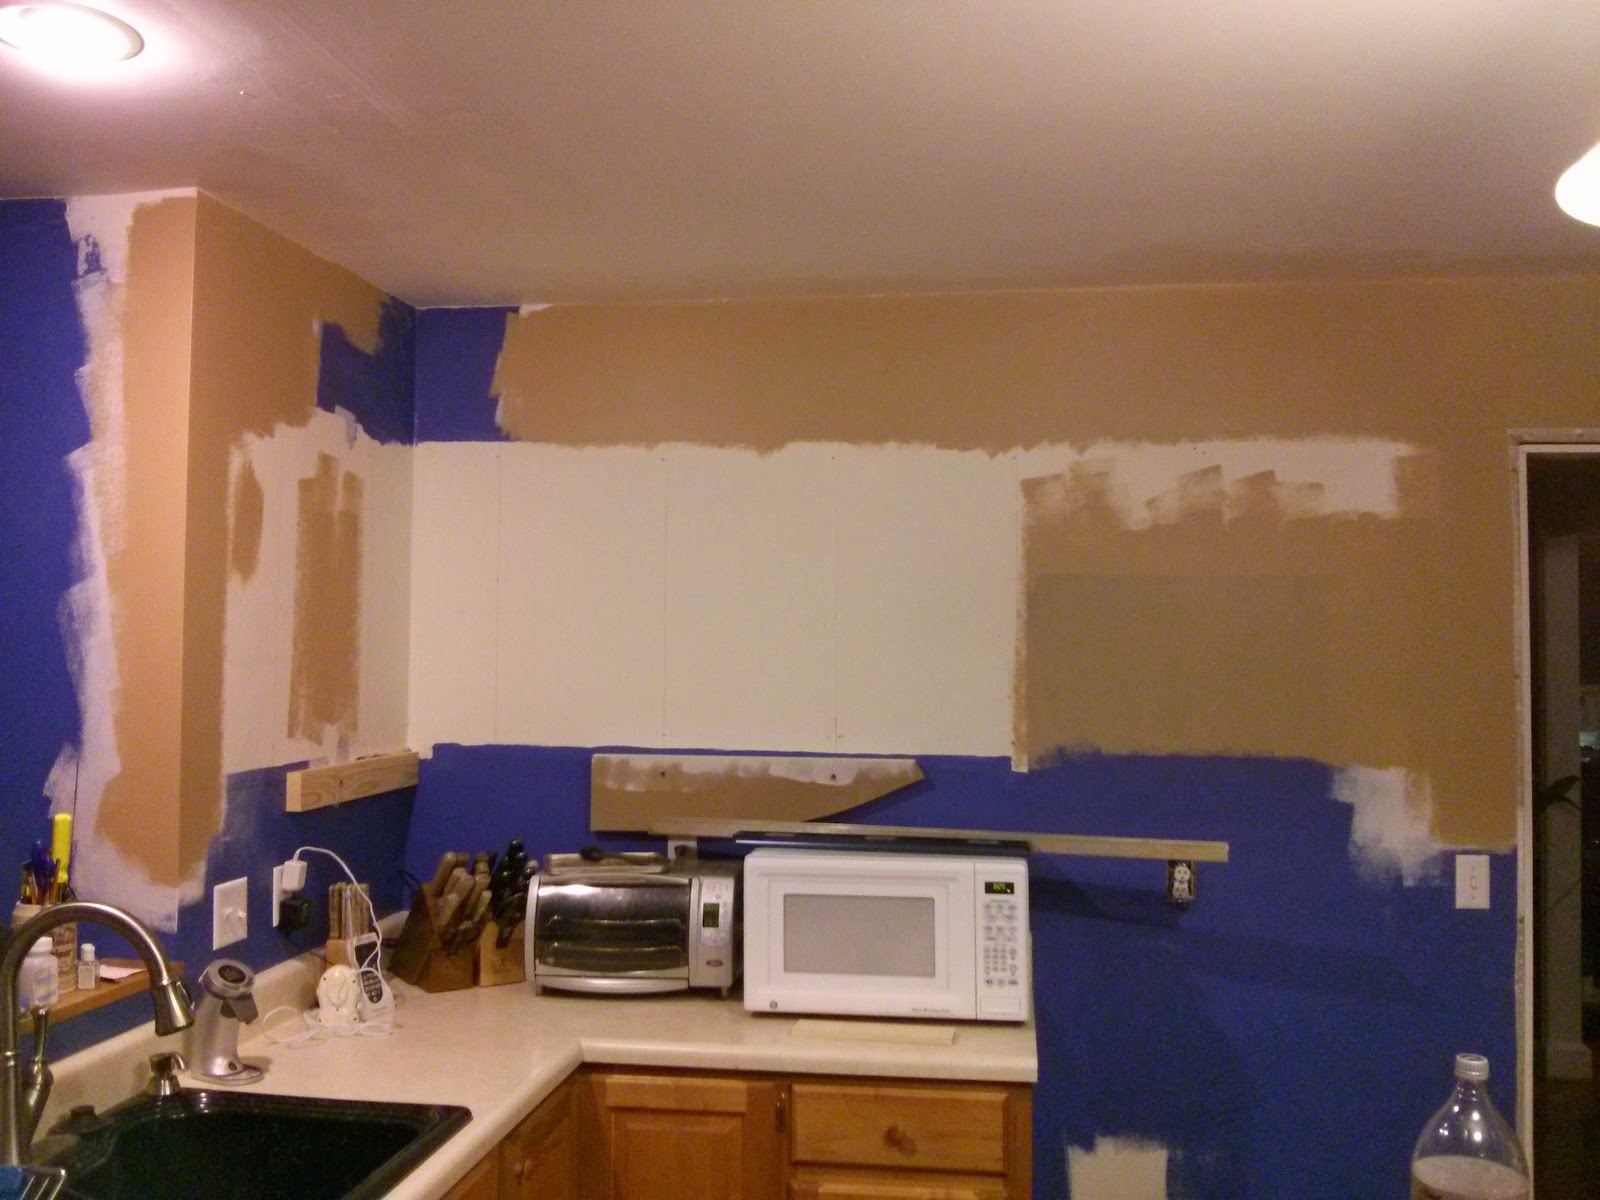
We were able to get a good bit of work done this weekend.   All of the wall cabinet cases are stained and polyurethaned as well as the tall pantry and over the fridge cabinets.  I also got the drywall repaired where we added the fridge water line and the ceiling corners in the fridge area that were pretty messed up from the popcorn ceiling removal.  Sally also picked our our new kitchen paint and I painted the area where the pantry/fridge cabinets are going.  We are going with Brookline Beige from
I had help from Logan testing that the cabinets were put together correctly before installation.  They all passed his vigorous stress testing... Late Sunday night I was able to get the tall pantry/fridge cabinets mounted in place.


Next TODOs:
1) repair drywall ceiling corners where wall cabinets are going
2) Paint above/behind wall cabinet areas
3) Move outlet up so it is behind microwave
4) Mount all wall cabinets

Friday, March 14, 2014

Home Depot

So about a month ago I decided to use Home Depot to special order Alder plywood for the cabinet door panels. I placed an order for two 4'x8' sheets of 1/4" Alder MDF Core A-grade Book Matched plywood.  
   
Columbia Forest Products supplies HD and we checked ahead of time for pricing.   Should be easy... NOT!
So I finally get the call that the plywood is in.  Brandon and I went to pick it up after flag football practice on Thursday night.

Both sheets are damaged as well as the 3/8 protecting sheet on the bottom!   Dammit!   Of course nobody knows what happened but it takes a pretty good amount of pressure to rip through over 3/4 inch thick plywood.

On top of that, it is not even what I ordered!  I ordered book matched veneer.  You can see it right on the tag.   Right under the words "Book Matched" it shows that they shipped "Random Matched"

HD gave me back the cost of one sheet, and assured me someone would find out what happened and call me the next day.

Did I get a call....of course not.

I really need to get started on the doors so I decided to go ahead and make the best of the situation and take the damaged plywood.  I am still going to try to get at least one sheet of book matched Alder.

Thursday, March 13, 2014

Started assembling and staining cabinets...


Planer Sled


For the most part the sled went together as planned.  The 8ft length is a little hard to handle but with a little practice it should work out fine.

I had a little slipping of the board on top of the supports so I think I will need to add some sandpaper to the top of those.

The bungee cord was also a bigger pain then I thought it would be.  Lowes/HD don't carry bungee by the ft.  I ended up getting a 25ft bungee from HarborFreight and cutting it down. 


Friday, March 7, 2014

Sick

Well that sucked.  I have been sick with a bad cold since Sunday the 1st of March.   I am feeling better (maybe 80%) so this weekend I have a lot I would like to accomplish.   We did receive the replacement parts from Cabinotch today.   The parts look ok although they were not protected any better.

1) Complete planer sled
2) Start staining face frames
3) Plane down wood for first door rail/stiles
4) Complete/Test box joint jig

We will see how it goes...

Saturday, March 1, 2014

Stain

We stained a final test piece of Alder from my new stock.   The final recipe is:

Sand with 220 grit
MinWax Stain Conditioner - single coat with excess wiped off after about 1 minute.
Let dry completely
Lightly sand with 220 
Stain is a mixture of General Finishes Water Base Stain
4 Parts Walnut/ 1 Part Espresso
Single Coat


Top is going to be 3 coats of  MinWax Water based Oil Modified Polyurethane.   I guess this is still undecided, but we liked the look on our test piece.

Friday, February 28, 2014

Cabinotch damage

I emailed Matt at Cabinotch today about the damaged parts. He was very understanding and assured me that they would get the parts remade and sent out ASAP.

I still need to go over all the parts this weekend to make sure there is no other damage that won't be hidden

Permit

Sally called the county trying to find out if we needed a permit to have the stove electricity/gas supply moved.  After being forward to someone (she did not get a name), he told her that if we were hiring a professional to handle the work, they would be responsible for getting a permit.....We will have to see what the contractors we get to quote the work say about it.


Thursday, February 27, 2014

Inspection


We opened up the pallets and checked out the cabinet parts.

I was surprised that all the parts were just in one big box all mixed up. There was no protection around any of them. They were free to bump and bounce around into each other. I have seen several videos that show the parts for a cabinet coming together wrapped up and protected.

So it looks like there is some damage to a couple parts.

It is hard to see in the images, but this is the worst problem.   The face frame is damaged deep enough that it can not be sanded out.  It is going to need to be replaced.


This the one side (bottom) of our tall pantry cabinet.  I think it has the most damage and looks the worst, but it might not effect us much since it will be covered by the refrigerator.  

Here are a few other images of the damage to different parts.  I will have to give the sales rep a call in the morning to see what can be done about the worst damage.